Client: Details
Use this function to edit details for an existing client.
|
1.
|
In the main window, select Admin > Discovery > Client. The Client window displays. |
|
2.
|
In the main window, click the gear icon and select Discovery > Client. The Client window displays. |
|
3.
|
Select an existing record. A new window displays with the Details tab selected. |
|
4.
|
Modify the applicable data, referring to the table below. |
|
5.
|
When all selections/entries are made, click Save. |
Client Details Fields
| ID |
Number generated by the application on client configuration |
| Name |
Client Name |
| State |
Current state. Displays either "True" or "False." |
| Host Name |
Host name |
| IP Address |
Identifies the client/host. |
| App Auto Update Enabled |
When selected, updates the application automatically. |
| Version |
The version number of the Discovery application. |
| Current State Time |
The time that corresponds with the current State. The time updated each time the State is changed. |
| Current Status |
Status of the Discovery application. |
| Location |
Location to be associated with the client. See Adding a Location, below. |
| Scan Through Agent Enabled |
When an agent is installed on the host to be scanned, the application will leverage the agent to conduct the scan. |
Adding a Location
|
1.
|
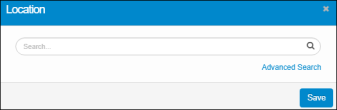
While in the Client window, with the Details tab selected, move to the Location field and click the Add button. The Location dialog box displays. |
|
1.
|
While in the Client window, with the Details tab selected, move to the Location field and click the plus + sign. The Location dialog box displays. |
|
2.
|
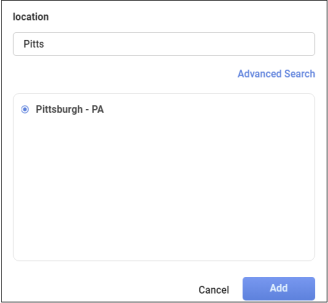
In the Search field, type the search criteria, then click the Search button. See also . |
|
3.
|
In the Search field, type the search criteria, then choose a location from the results list. See also . |
|
4.
|
Choose a location from the results list. Only one location can be added. |
|
5.
|
Click Save. The Location is added to the Details tab. |
| |
If you need to update the Location, click the Update button at the end of the field, and repeat the steps above.

|
Related Topics