AD User Import Scans: Attachments
Use this function to attach, download and delete attachments.
| 1. | In the main window, click Discovery Scan > AD User Import Scans. |
| 2. | Select the record to manage. |
| 3. | Follow the instructions below for the applicable action. |

| 1. | Click the Attachments tab. |
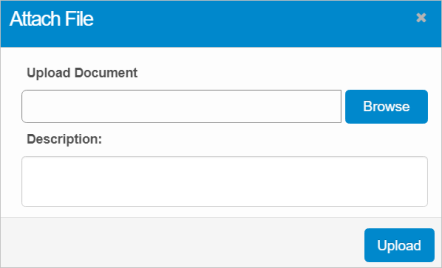
| 2. | Click New Attachment. The Attach File dialog box displays. |

| 3. | In the Upload Document field, click Browse to select the applicable file. |
| 4. | In the Description field, enter information about the attachment. |
| 5. | Click Upload. When you return to the Attachment window, the added item displays. |
| 1. | Click the Attachments tab. |
| 2. | Locate the row containing the attachment to download. |
| 3. | Click the Download icon. The attachment downloads. |
| The process for downloading the attachment is based upon your individual system settings, such as the selected browser. |
| Deleting is a permanent action and cannot be undone. Deleting may affect other functionality and information in the application such as data in configured reports, fields in windows, selectable options, etc. Therefore, be sure to understand the potential effects before making a deletion. |
| 1. | Click the Attachments tab. |
| 2. | Click the Delete icon. |
| 3. | In the Confirmation window, Type Delete and click Delete. |