Add Contents to the Discovery Scan Dashboard
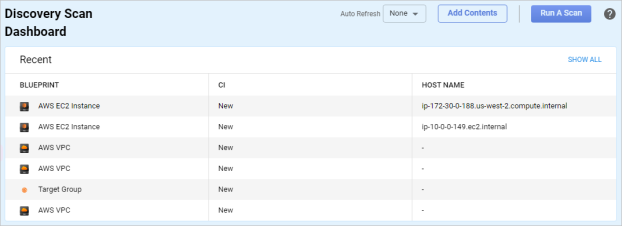
The Discovery Scan Dashboard can be configured to show a variety of reports. The reports can be added, removed, and placed in various locations on the Dashboard. For each report, there are options such as generating or saving the report.
|
1.
|
In the navigation pane, select Discovery Scan > Dashboard. The Dashboard window displays. |
|
2.
|
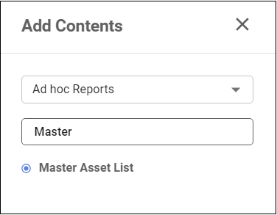
Click the Add Contents button. The Search window displays. |
|
3.
|
Click the drop-down list and choose the desired report. |
|
4.
|
If a text field displays, do the following: |
|
a.
|
Enter the keyword and click the desired file names next to the radio buttons displayed. |
|
5.
|
Click the Add Now button to view the report.
|
| |
Once you place a report on the dashboard, it cannot be moved. To change the location, remove the report, select it again, and then specify a new location. Also, some reports can only be added to the top or bottom of the report area. This is due to the size of the report. |
Related Topics
About the Discovery Dashboard
Other Functions and Page Elements

